The basics of soundproofing a room
Soundproofing a room, hallway, basement or other space can be daunting. No one wants to overspend and not get the results they're looking for.
Fortunately, you can soundproof a room well, at a reasonable cost, if you follow the basic, tried and true methodology. Follow the four steps below for the best soundproofing results, every time.
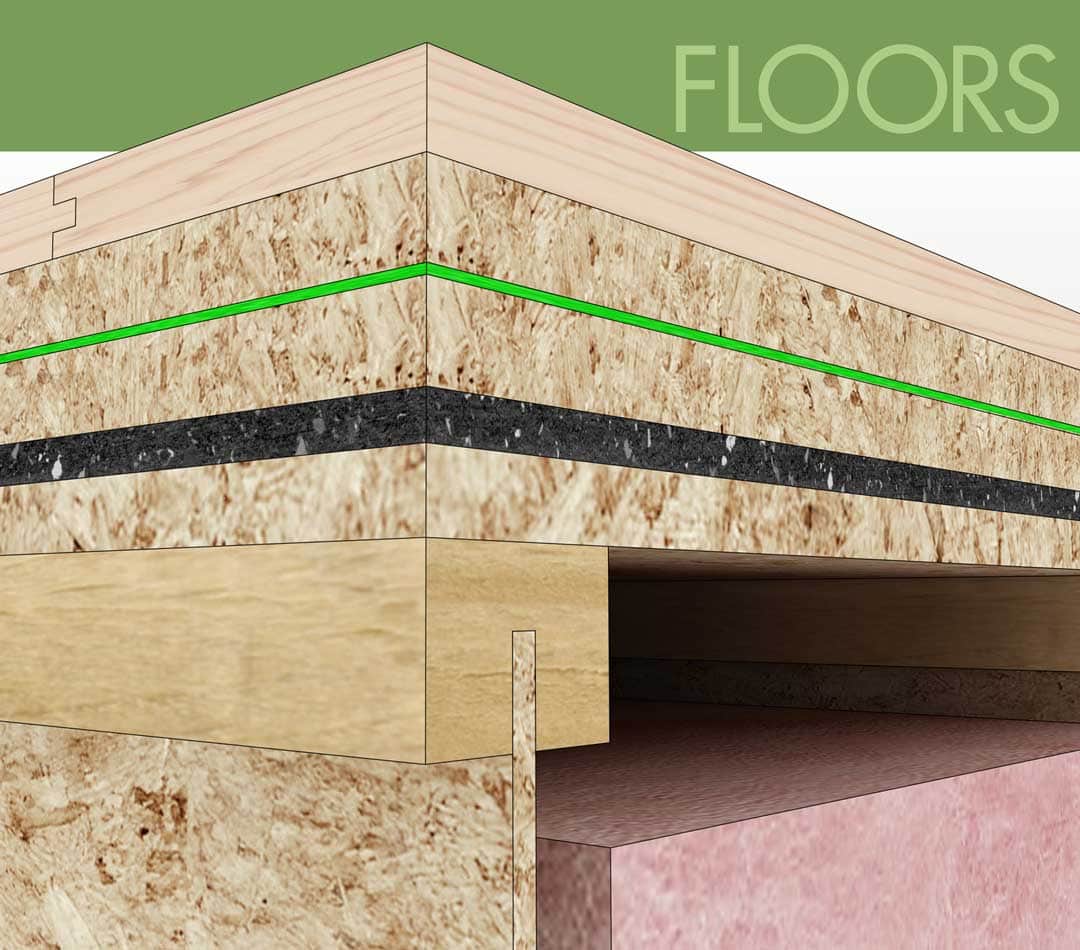
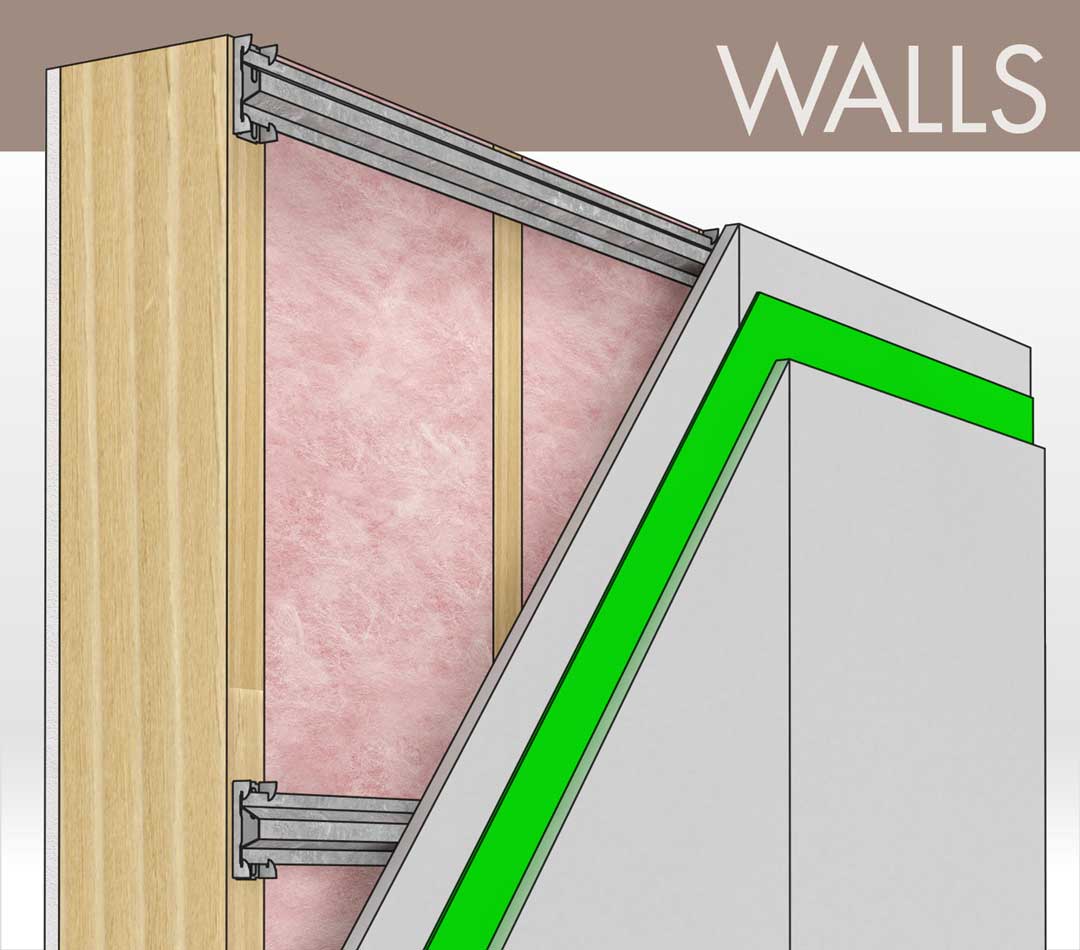
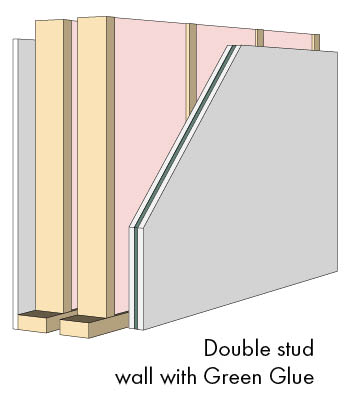
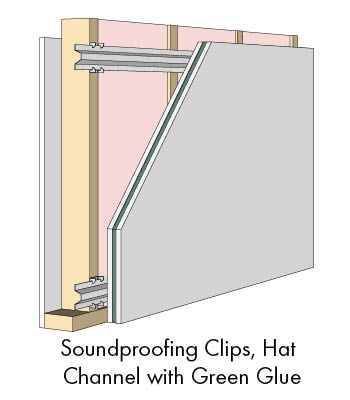
 1. Decouple The Framing
This can be done with staggered stud or double stud walls. To decouple the ceiling, consider clips&channel. Resilient Channel (RC-1) attempts to decouple, however, there is no industry standard or specification for its construction, so we would be concerned about using it.
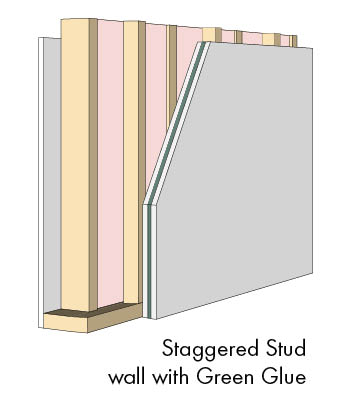
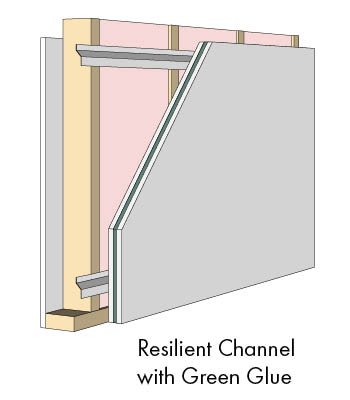
You can soundproof a room very well at a reasonable cost if you follow some basic, tried and true methodology.

![]()
2. Install Absorption in the Cavities
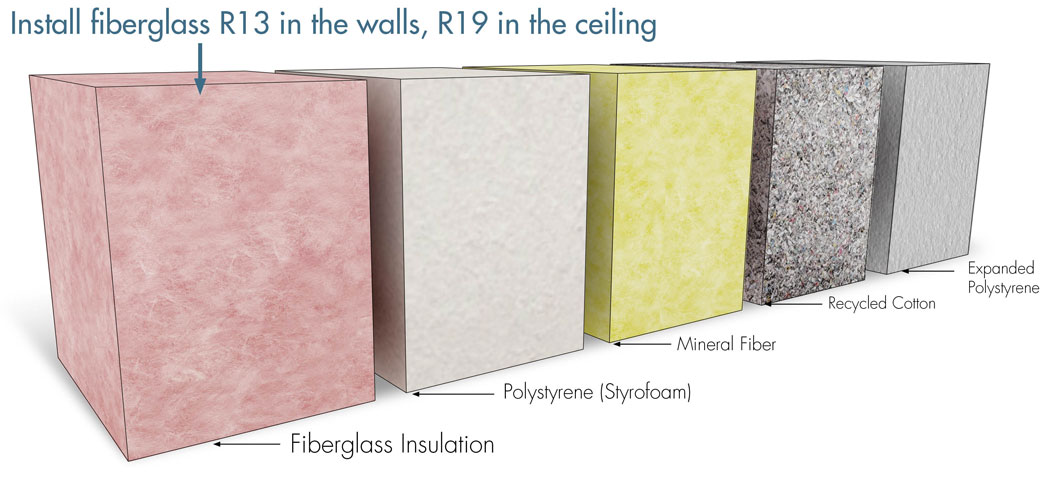
This means standard fiberglass R13 in the walls, and R19 in the ceiling. Know that there is no data that supports that any other insulation (including the “acoustic” labeled, and recycled cotton) works better. Also, foam (open or closed cell) is superior for thermal but distinctly worse for acoustic. Use the cheapest fiberglass you can find.
![]()
3. Add Mass
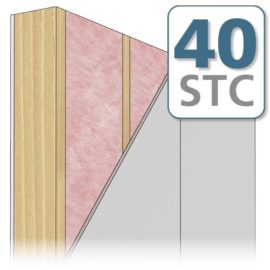
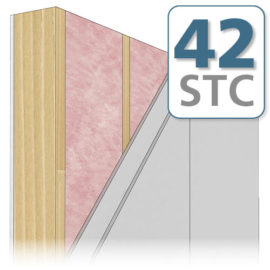
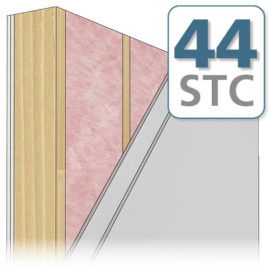
Nothing better than standard 5/8” Type X. Great mass at 70+ pounds a board, and cheap at $7 a sheet. Use two layers. Only mud and tape the final layer.
![]()
4. Add Damping
Consider damping these drywall panels with one of several field-applied damping compounds. Some work better than others, and independent lab data shows you get what you pay for here.
After that, you should turn your attention to the ventilation, lights, and doors. All of these are flanking paths for sound to get out of the room you just built. They can be dealt with fairly easily, but you will want to incorporate this in your design. For more detail on flanking, you can review our article: Dealing with Flanking Noise.
Here's an additional soundproof a room article that deals with these Elements of Room Construction.

